Eve7EventDisplay
EVE-7 Event Display
EVE-7, officially known as REve, is an update of TEve, the popular ROOT-based event visualization framework. Design of EVE-7 was also informed by the HEP Software Foundation Community White Paper on Visualization. EVE-7 has been written with CMS in Run-3 and the ROOT-7 era in mind:
- References: "EVE-7 and FireworksWeb: The next generation event visualization tools for ROOT and CMS" by Matevž Tadel et al.
Modernize the code with modern c++.
- This will have new web server client implementation. Allowing remote access, making it useful for Online/data taking.
- In additon, this alleviates the problem of the aging ROOT GUI infrastructure as Web-based technologies are platform independent by its own nature. Supports remote interactive graphics and visualization services
Proposal to use Eve-7 for Mu2e presented at last CM: Mu2e doc db 35612
Code Stucture
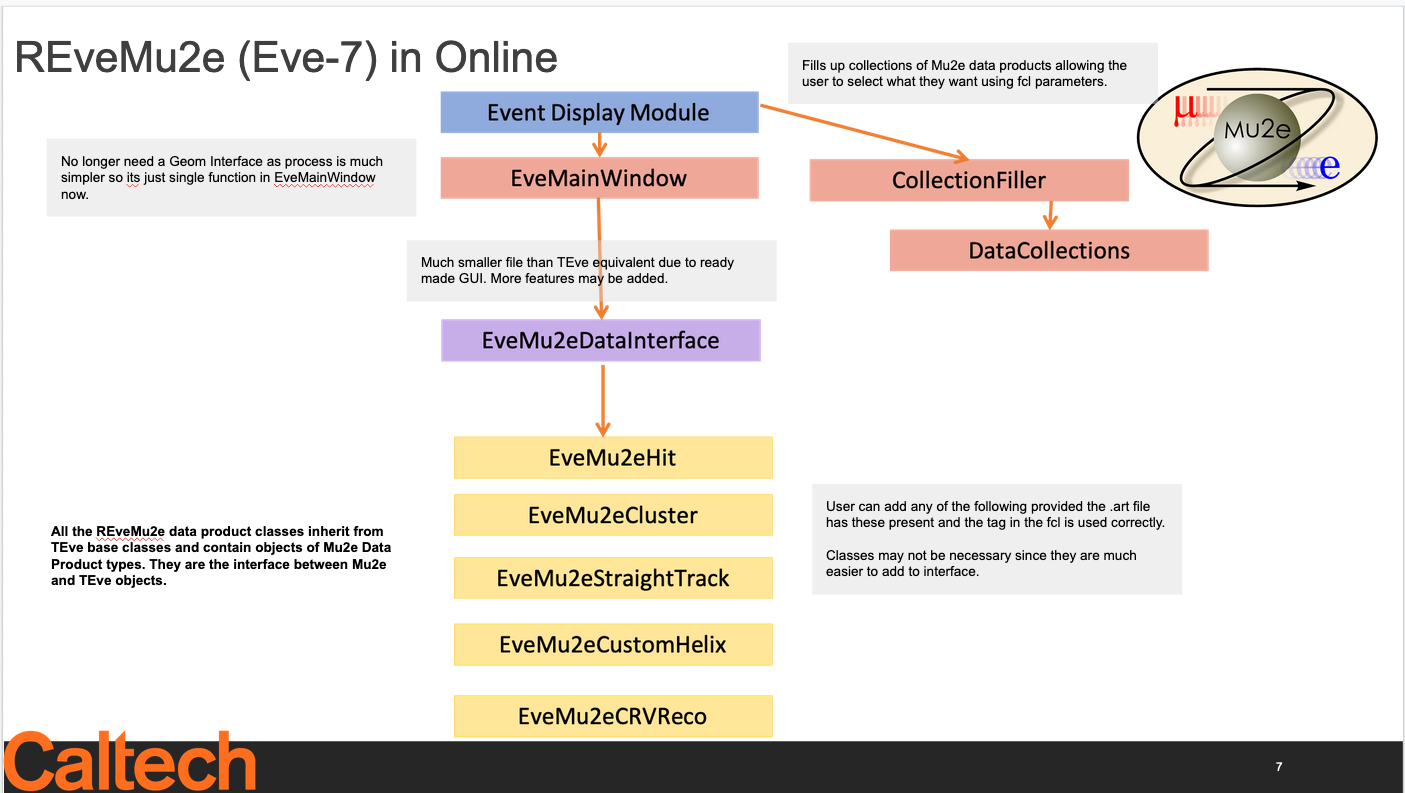
The Eve-7 Mu2e code is much simpler than the TEve version since many features are built-in so we don't have to build all the infrastructure ourselves. Therefore the number of files written and the overall file sizes is much smaller:
Demo
A simplistic demo was built in order to prototype the development level code. Users can test drive the demo here: https://github.com/sophiemiddleton/OnlineDevelopment
Using the Eve-7 Mu2e Display
The Eve-7 display is available on the Mu2e DAQ machines. I am in the process of transitioning the code to GitHub and the general purpose machine. We now have an REve repo. in the Mu2e GitHub organization.
Examples of the Eve-7 Mu2e Display
To run an example, begin by making a set of CeEndpoints as you would for an analysis. Once you have your reconstructed sample:
mu2e -c REve/examples/helix_example.fcl CeEndpoint-reco.art
An art job should run and eventually a browser will appear with 3D and 2D views present.
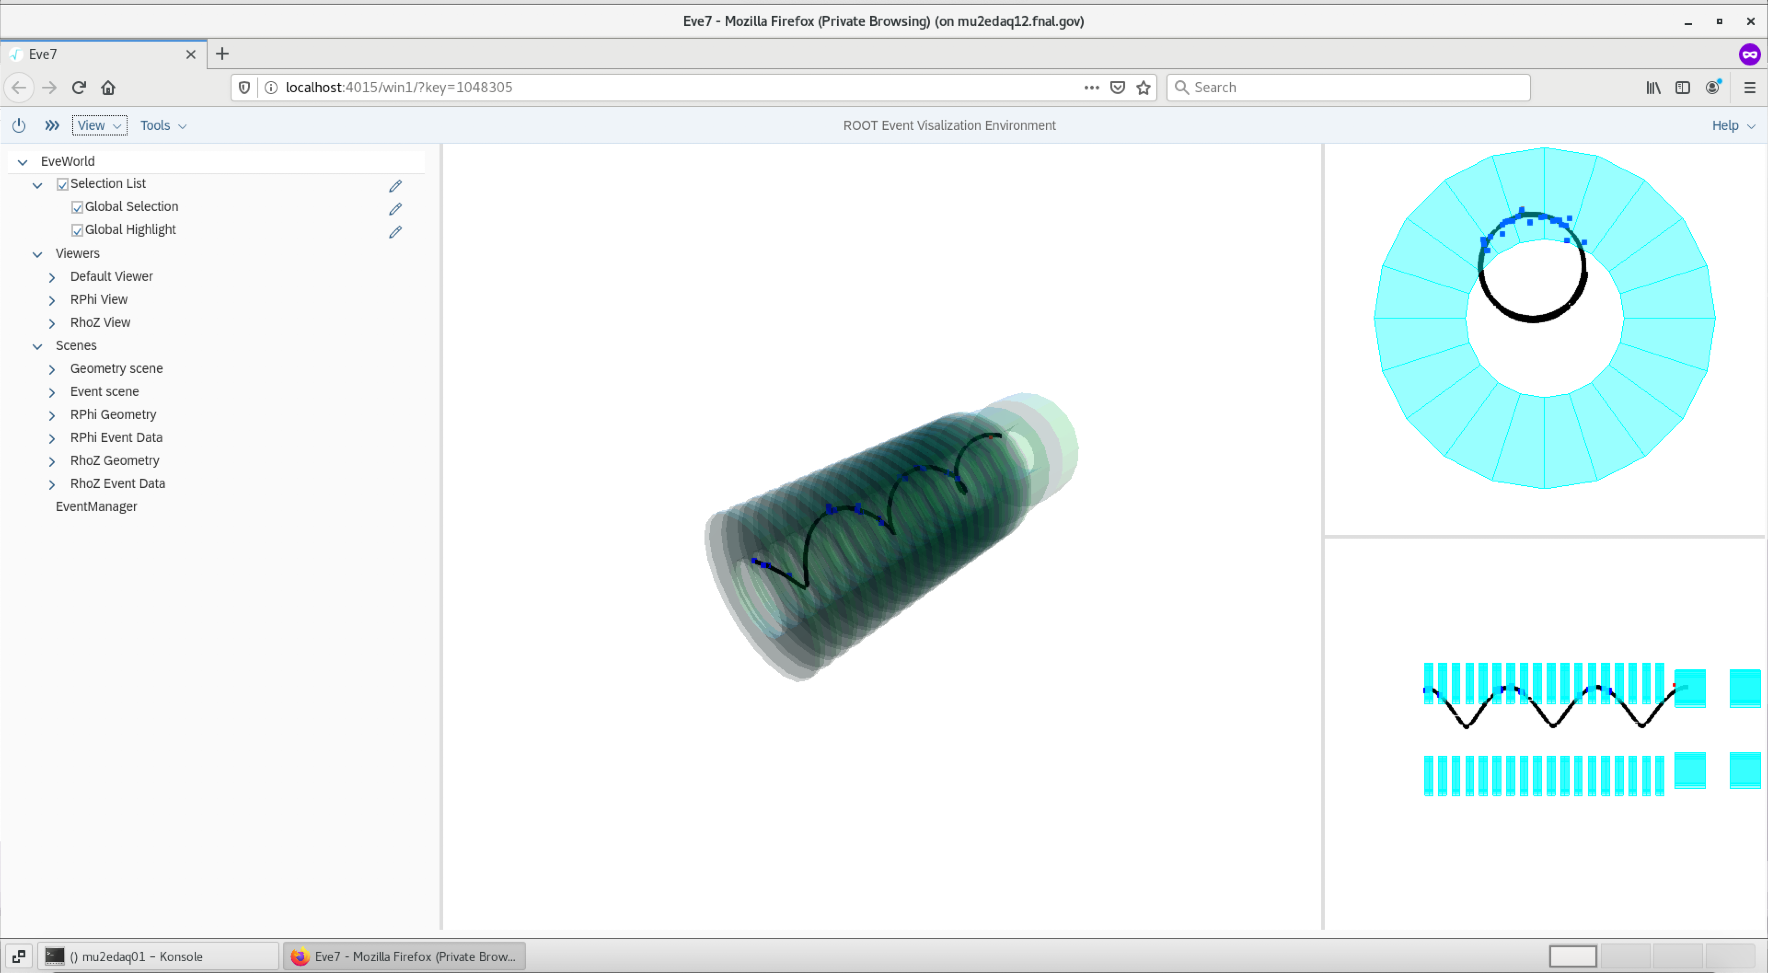
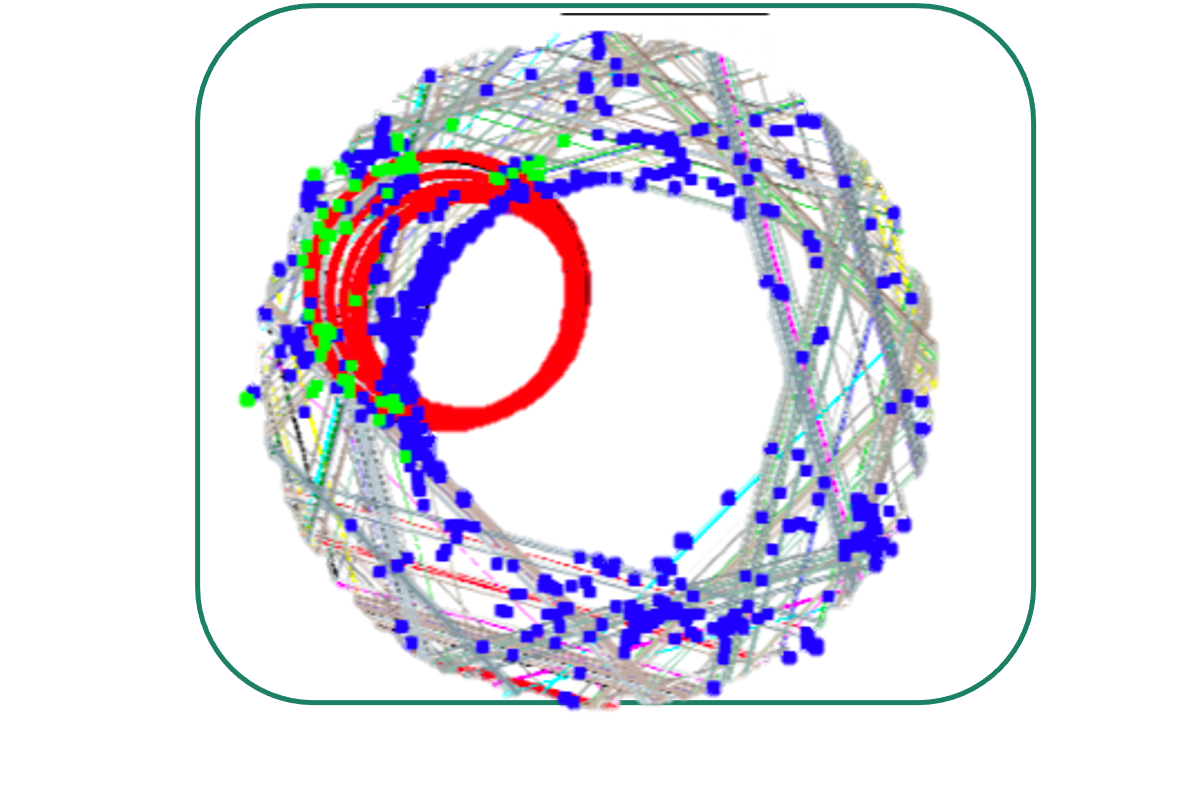
In the figure below a CeEndpoint is displayed in the Mu2e Eve-7 display. This display is currently under development and several features are still being adapted.
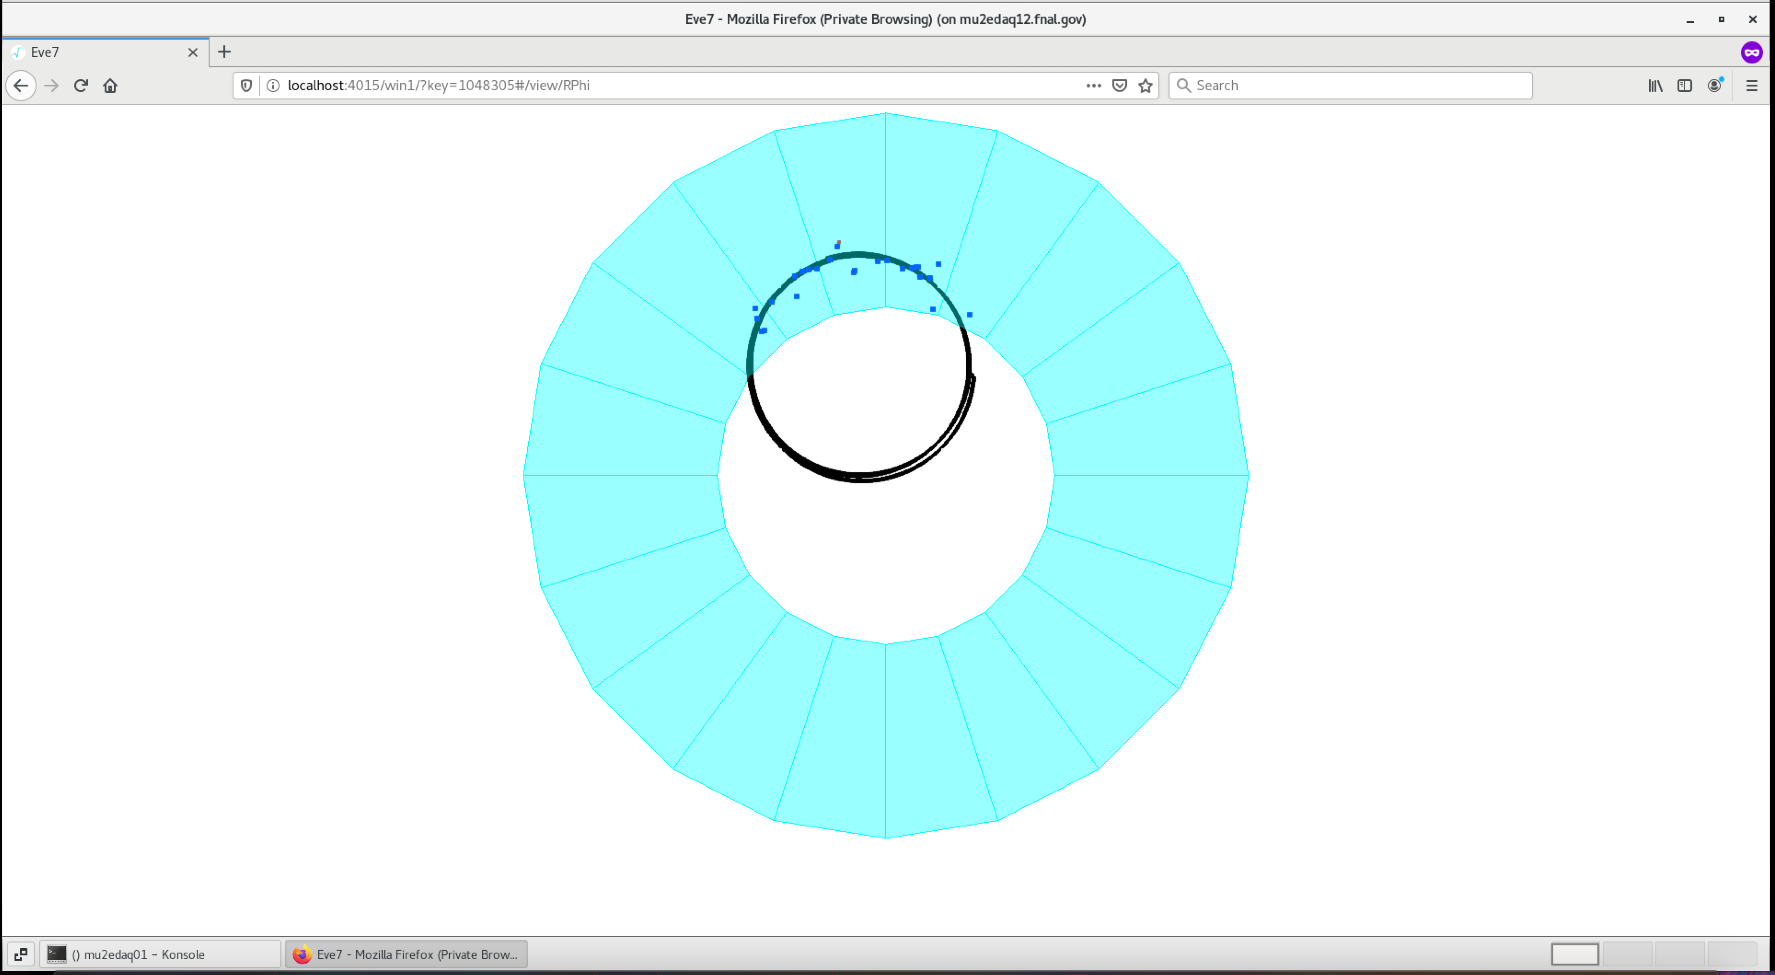
To zoom in on a given 2D projection select ``View" and select from the drop down menu:
Mixed Sample
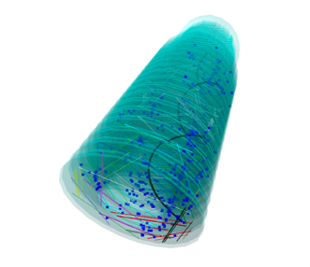
Mixed samples can be looked at in the same way. You can use the ``strawdisplay" parameter to display straws hit in the event. You can display both the signal i.e. track hits and background hits using the ``AddTrkHit" parameter
Remote Access
Users can run the Eve-7 display from a server anywhere in the world and have the display appear in their local browser using an ssh tunnel.
Please use your fermilab ID number as your port number, to avoid collisions with other users.
For example, if your ID number is 01234, ssh to the server machine (with access to Mu2e data) using port 1234:
ssh -KXY -L 1234:localhost:1234 <username>@mu2egpvm01.fnal.gov
Before running REve, you need to tell root to use that port. In the working directory in which you plan to run the mu2e app, create a .rootrc file with the following contents:
 WebEve.DisableShow:   1
 WebGui.HttpPort:   01234
 WebEve.GLViewer:  Three
Now start the display on the server; for example:
mu2e -c REve/examples/helix_example.fcl ...
The printout will give the url for the display output, which will look like:
EVE URL http://localhost:1234/win1/
Then open a local browser and copy in that URL. You should see the same display as on the mu2e machine.
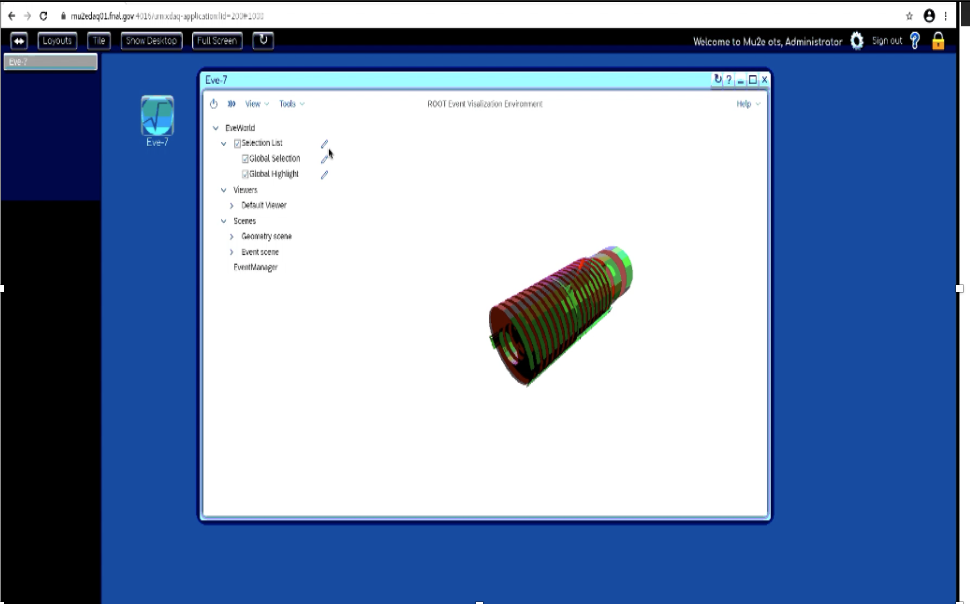
I have added a Eve-7 tab to the OTSDAQ desktop to make this easier.
Web Interface
When running REve display remotely there are a number of control buttons visible on the web page:
- NextEvent advances to the next event in the processing
- QuitRoot terminates the remote process. Note that the event displayed in the web window will still be visible
In addition the display images on the web page can be manipulated with the following actions. Note that these are specific to the currently active frame:
- left click on the image plus mouse/trackpad motion will rotate the image
- control left click (or right click) on the image plus mouse/trackpad motion will translate the image
- scrolling (or 2-finger drag on a touchpad) will zoom/unzoom the image
Resources
- Paper: https://inspirehep.net/literature/1832138
- Tutorials: https://root.cern.ch/doc/master/dir_bd8aee942c685c4dad598f793ddc03e2.html
